This guide will cover the firmware update procedure the for Kmbox-net version.
Credits:
tomok0178
Video Guide
Credit: tomok0178
Text Guide
(Same procedure, different firmware file)
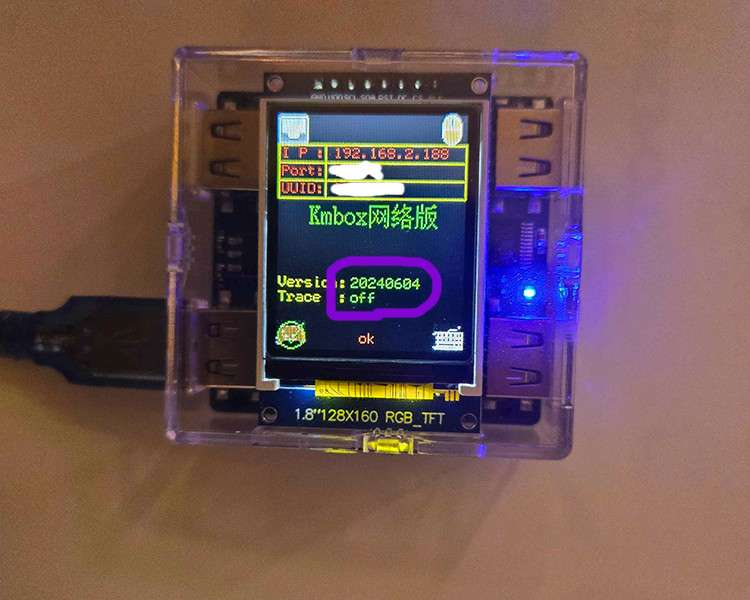
Apply power to your Kmbox-net and take note of the version date that is on the screen.
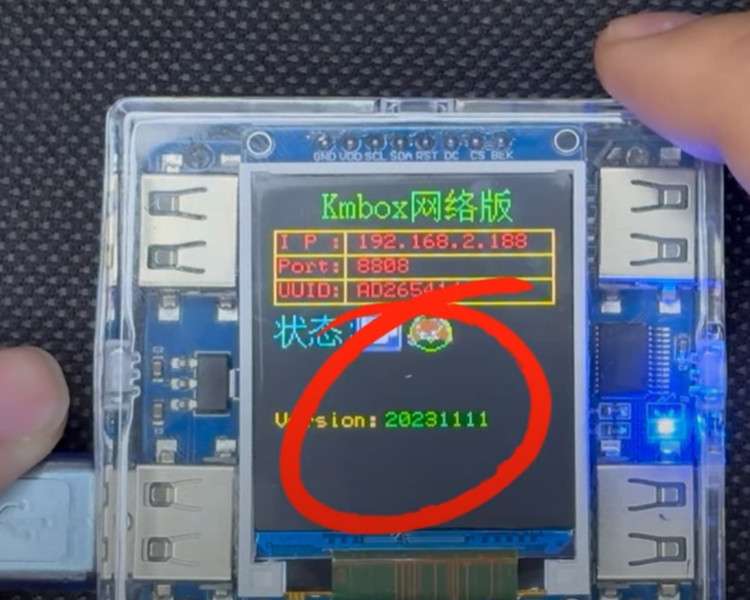
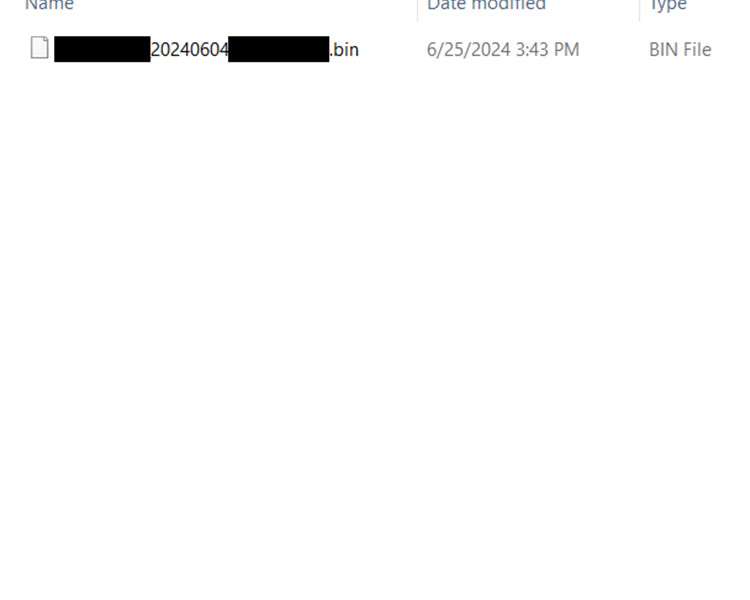
Compare this version date with the date on your .bin file that we have provided in the download above. If the date is the same then there is no need to proceed.
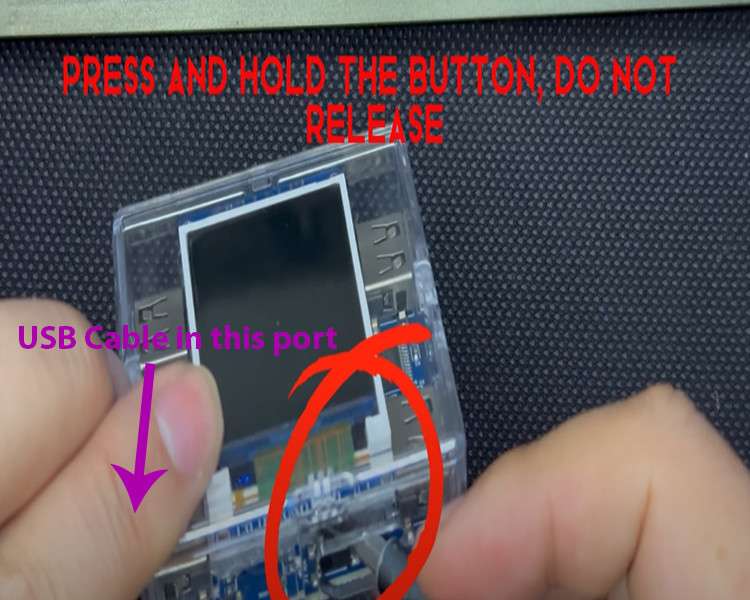
Plug one end of the kmbox usb cable to your second pc (recommended in order to keep ur main pc clean). Leave the other end unplugged for now. Identify the small black button close to the plastic window inside of your Kmbox-net. Using a paperclip or a slim screwdriver, hold down the button. While holding down the button plug in the Kmbox-net with the usb cable you attached to your gaming pc to the typical port where it should go (pictured).
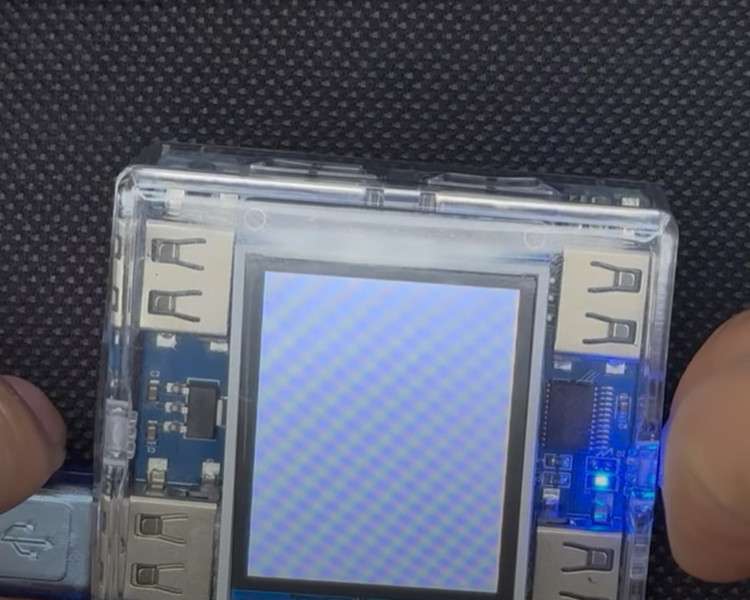
The solid white screen and flashing blue LED indicates that you are now in the firmware update mode. You can proceed to windows 10/11 now.
Extract the archive where you wish and run the “01-Drive” application. Click through the installer until complete. You do not have to run the application after successful install (uncheck the box at the end).

Run the “02-Upgrade Tool” application, match your settings below. If your device does not show up similar to the photo then go back and make sure your kmbox-net is in firmware install mode and that you have installed the drivers. Click “select file”

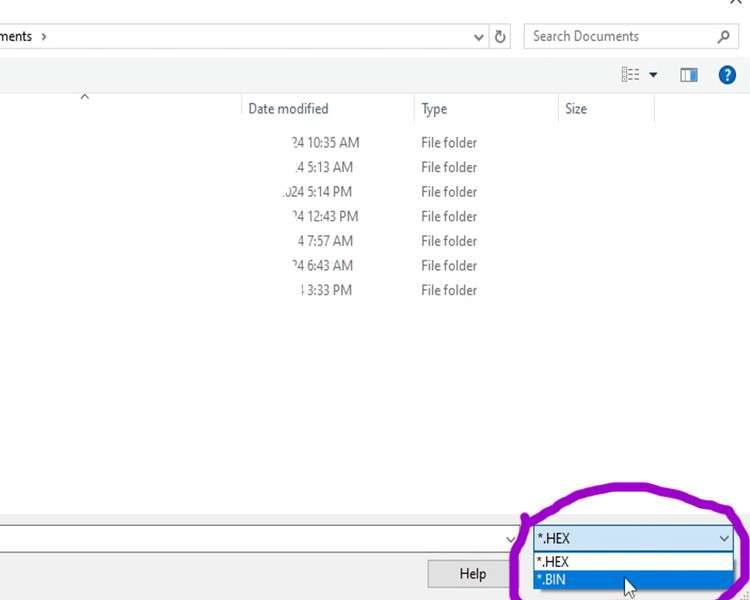
Ensure your file type is set to .bin. Locate your firmware file and select it.
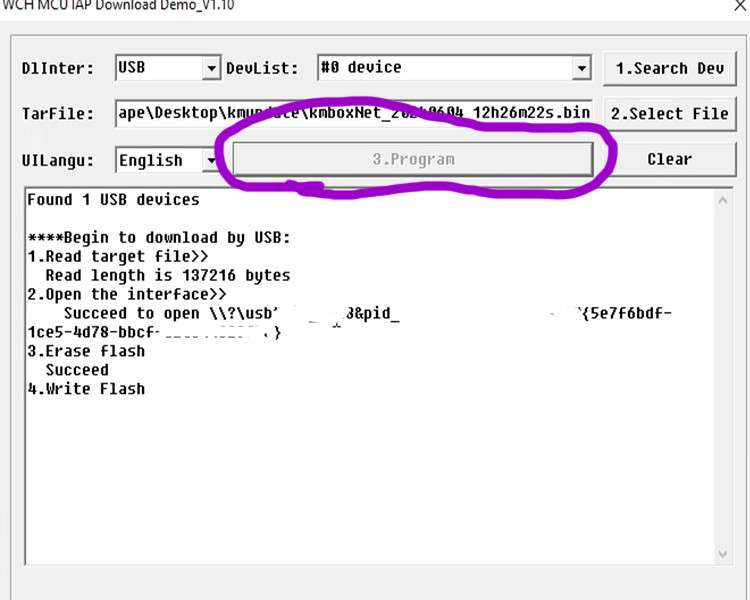
Click the “3. Program” button to start the update. Do not remove your Kmbox-net during the update.
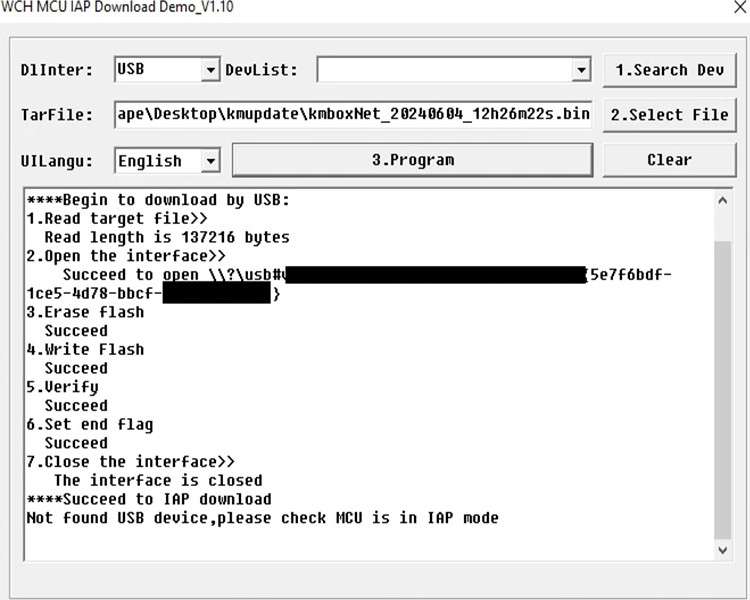
When the update is complete you will have an output similar to below.
Verify that your version date is now higher on your Kmbox-net.
