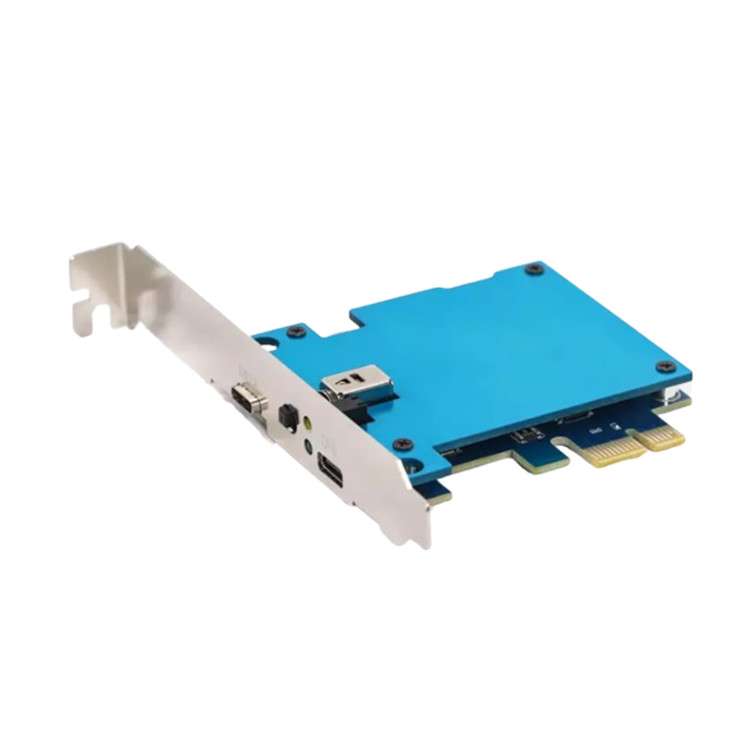
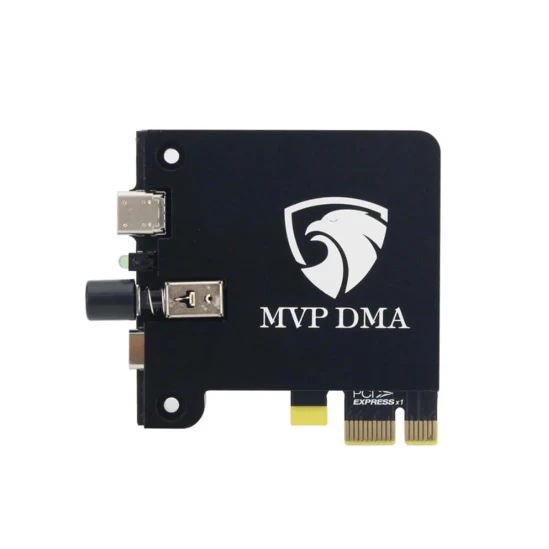
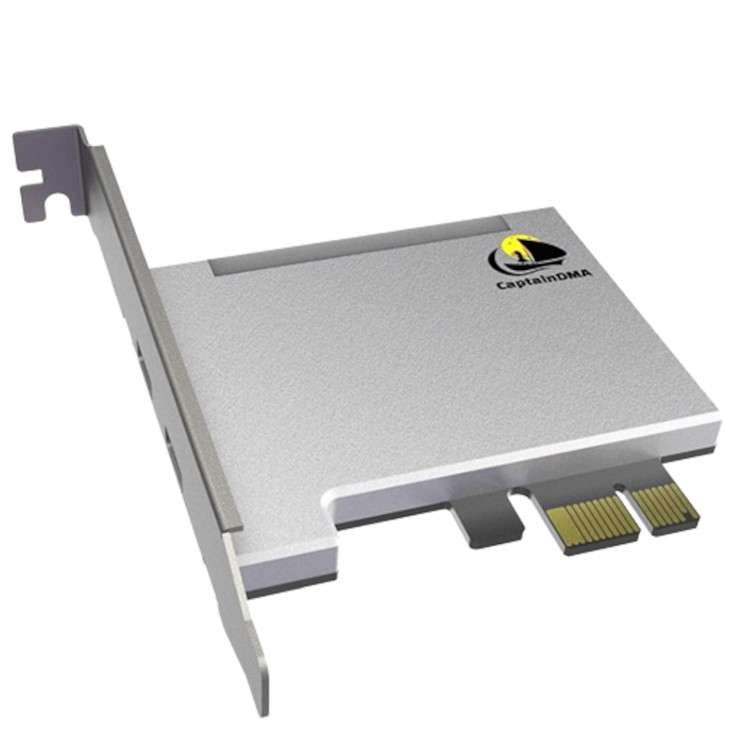
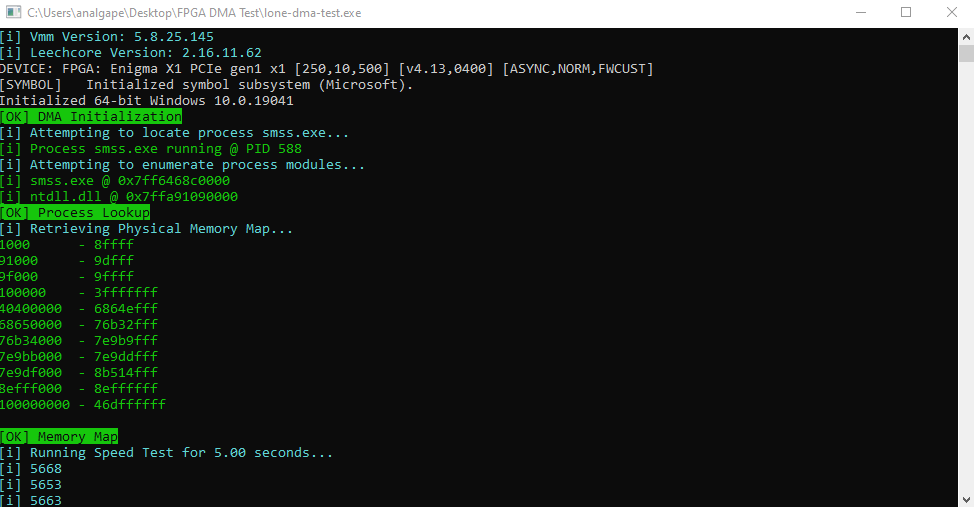
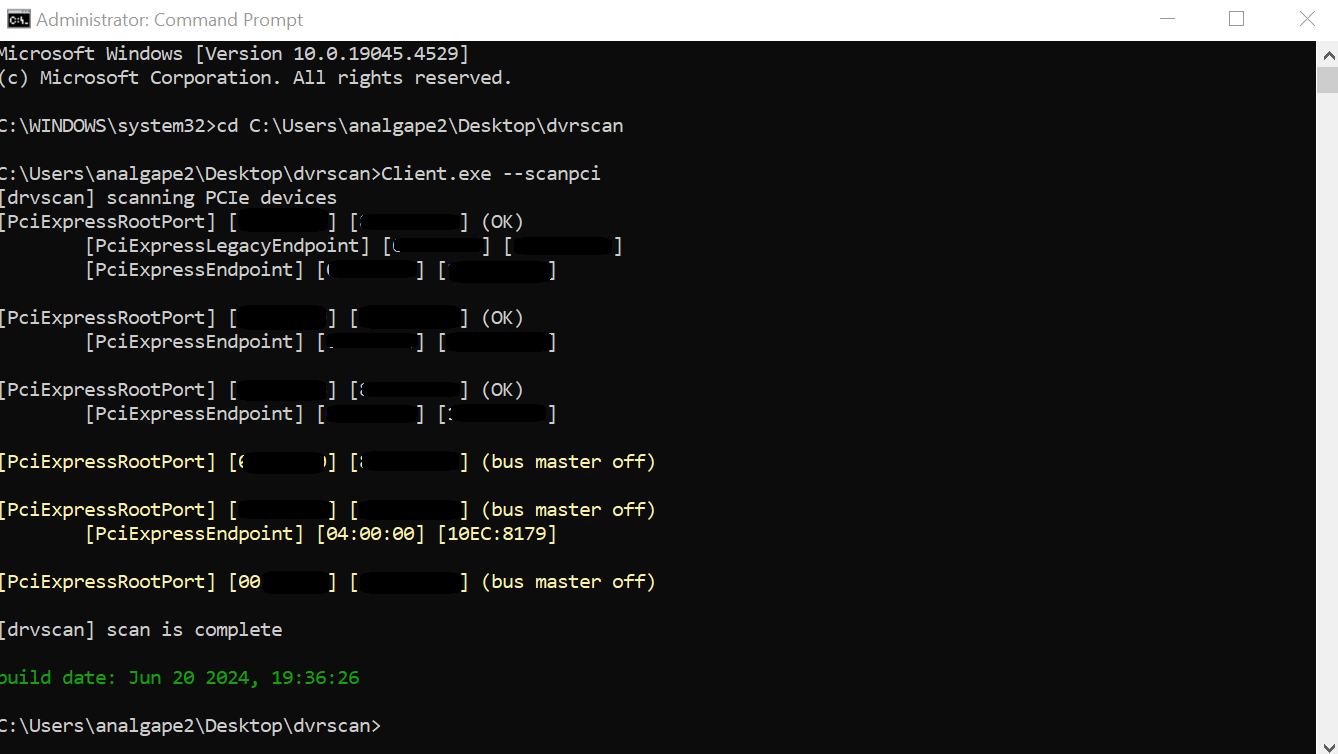
This guide will cover how to flash firmware onto a MVP DMA 35t DMA card. This guide assumes that you already have:
- A MVP DMA 35t card
- Firmware to flash
- Free firmware here if not
- Both PC’s BIOS and system configured for DMA use (should have been covered by your card provider)
Credits:
zelzcheats
SmhAlone
Required downloads for this tutorial:
Video Explanation
Text Explanation
**Should only be done on second PC. NOT Gaming PC**
**Please plug into JTAG port now.**
1. Unzip both packages and drag to your desktop.
2. Open up CH341PAR and make your way to DRVSETUP64. Right click and run as admin.

3. Click install as shown below.

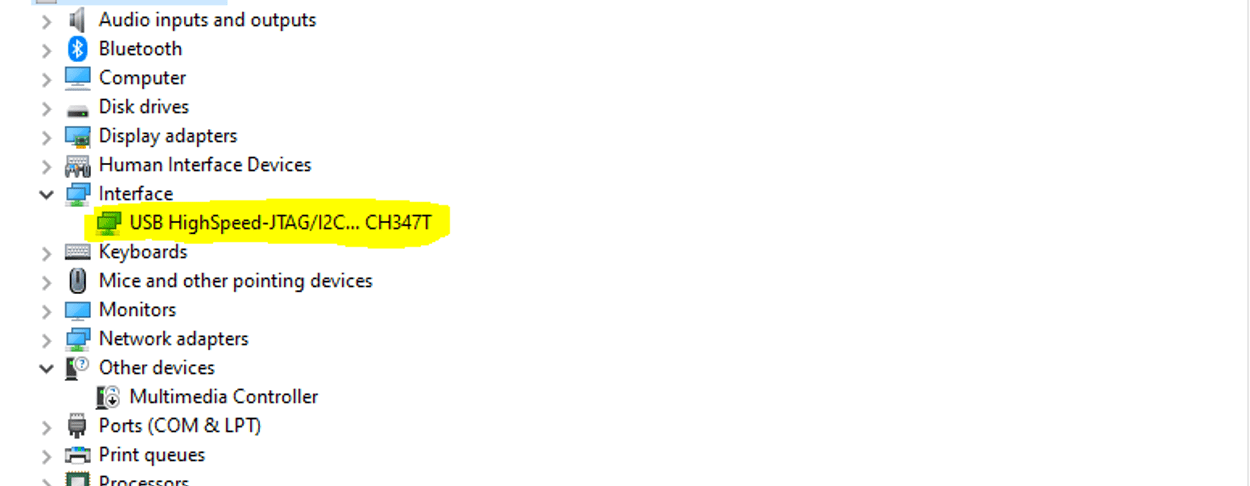
3.1 Confirm that you see USB Highspeed-JTAG/12C…CH347T in Device Manager>Interface
4. Open CH347-main and make your way to the FGPAtool folder and run FPGADownloadTool as admin.
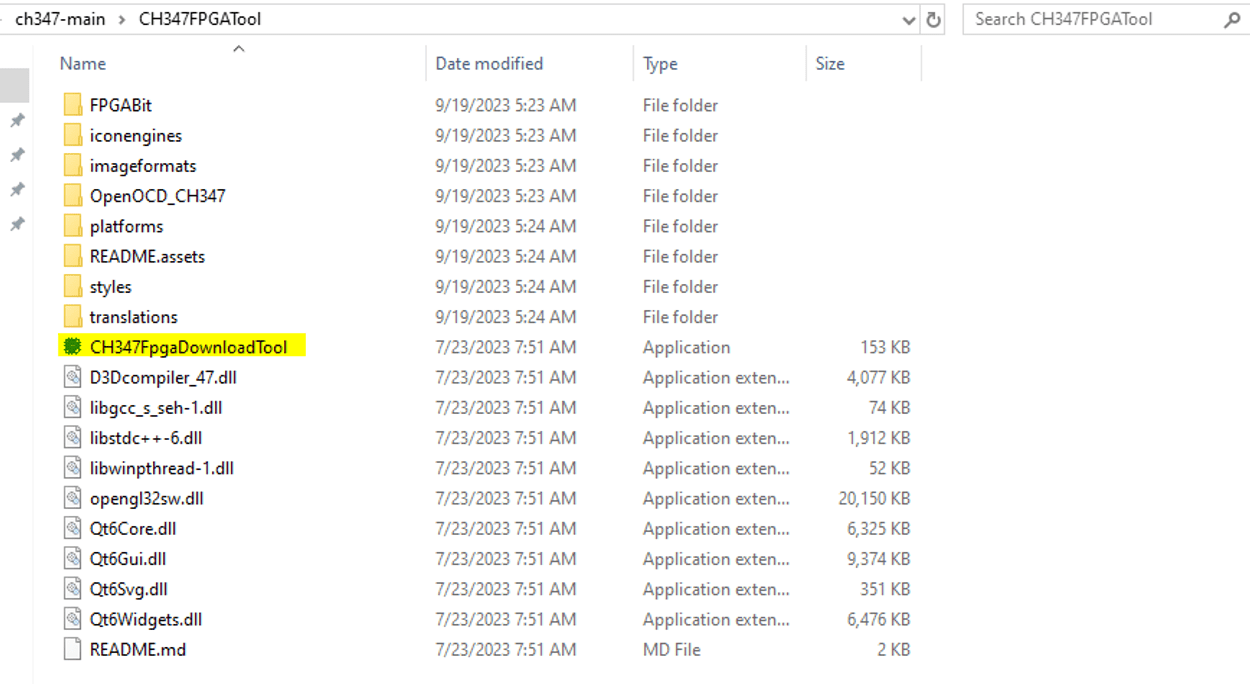
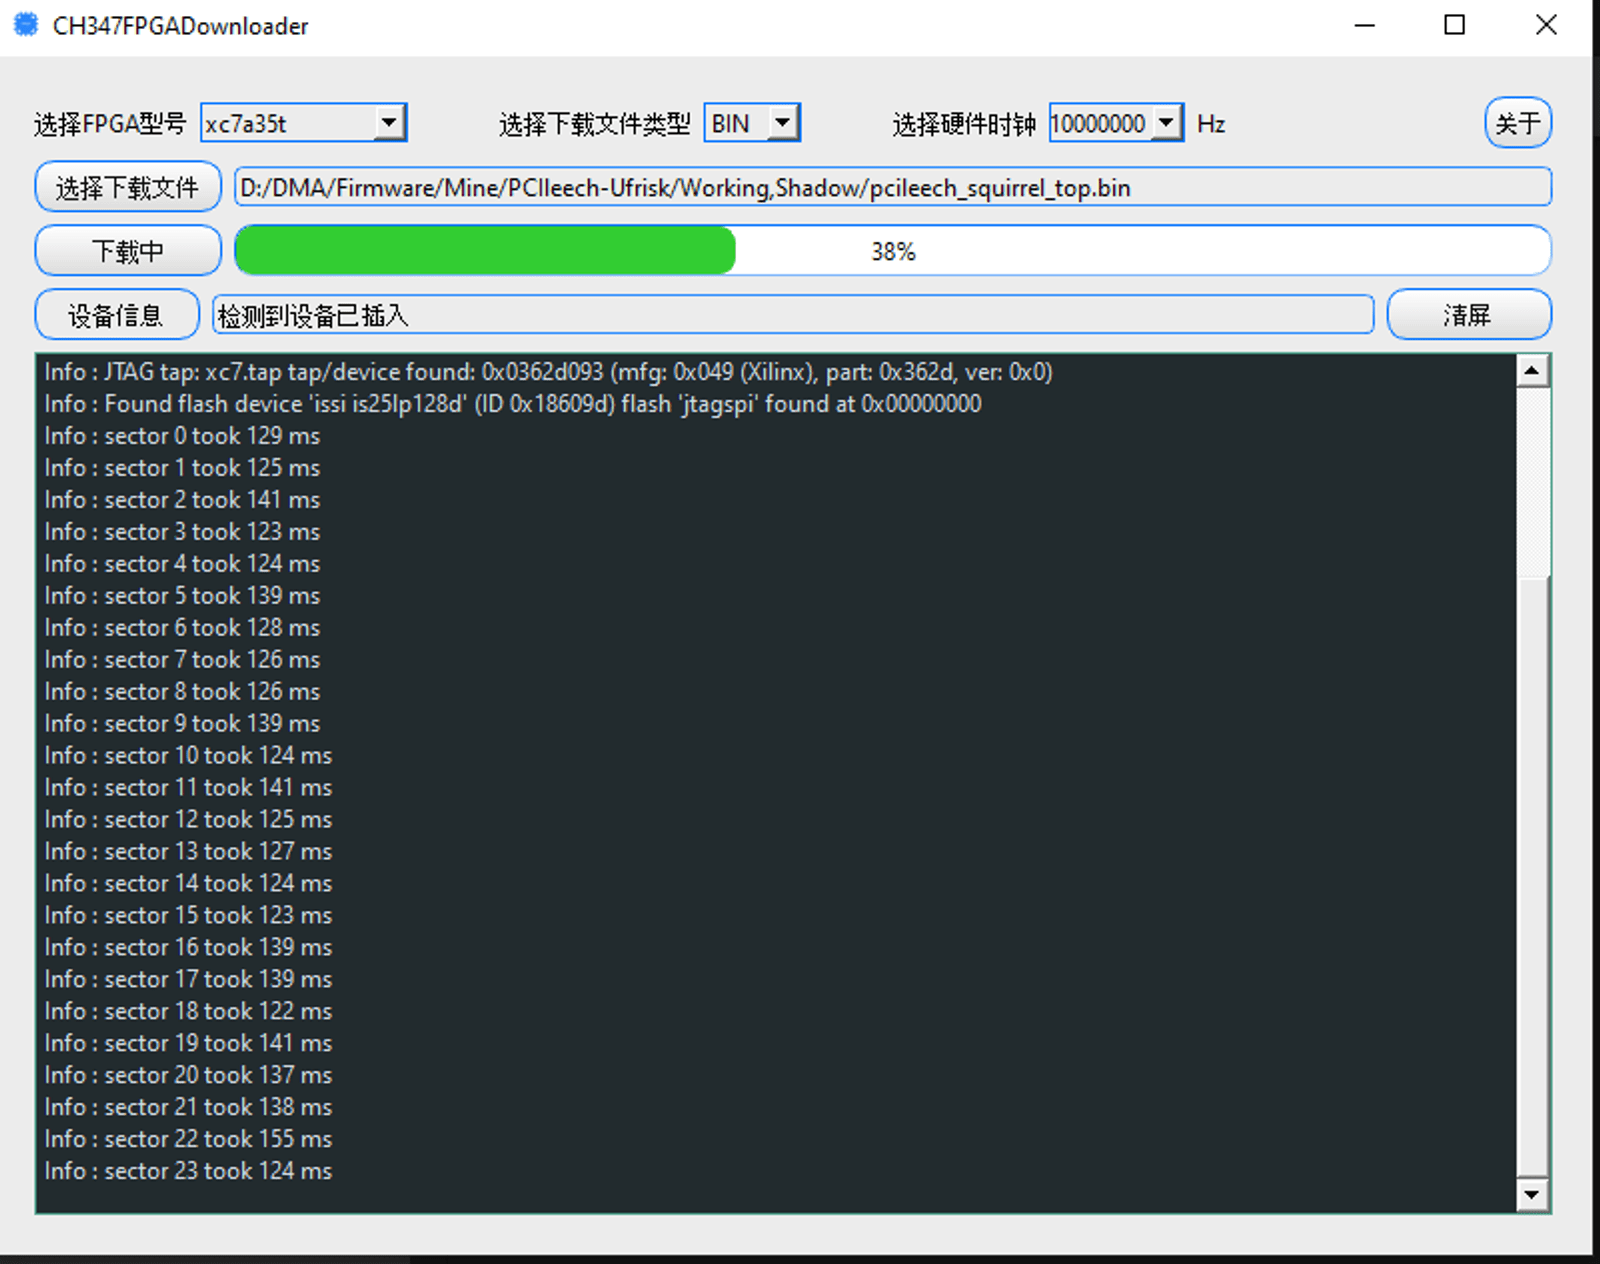
5. Be sure to change the first and second drop down to what is highlighted below.

6. Now we are going to pick what file we are going to flash. To do that, click the highlighted section seen below.

6.1 P.S. Please make sure there are no spaces in the directory

7. To begin flashing, we are going to click the “download” button highlighted below

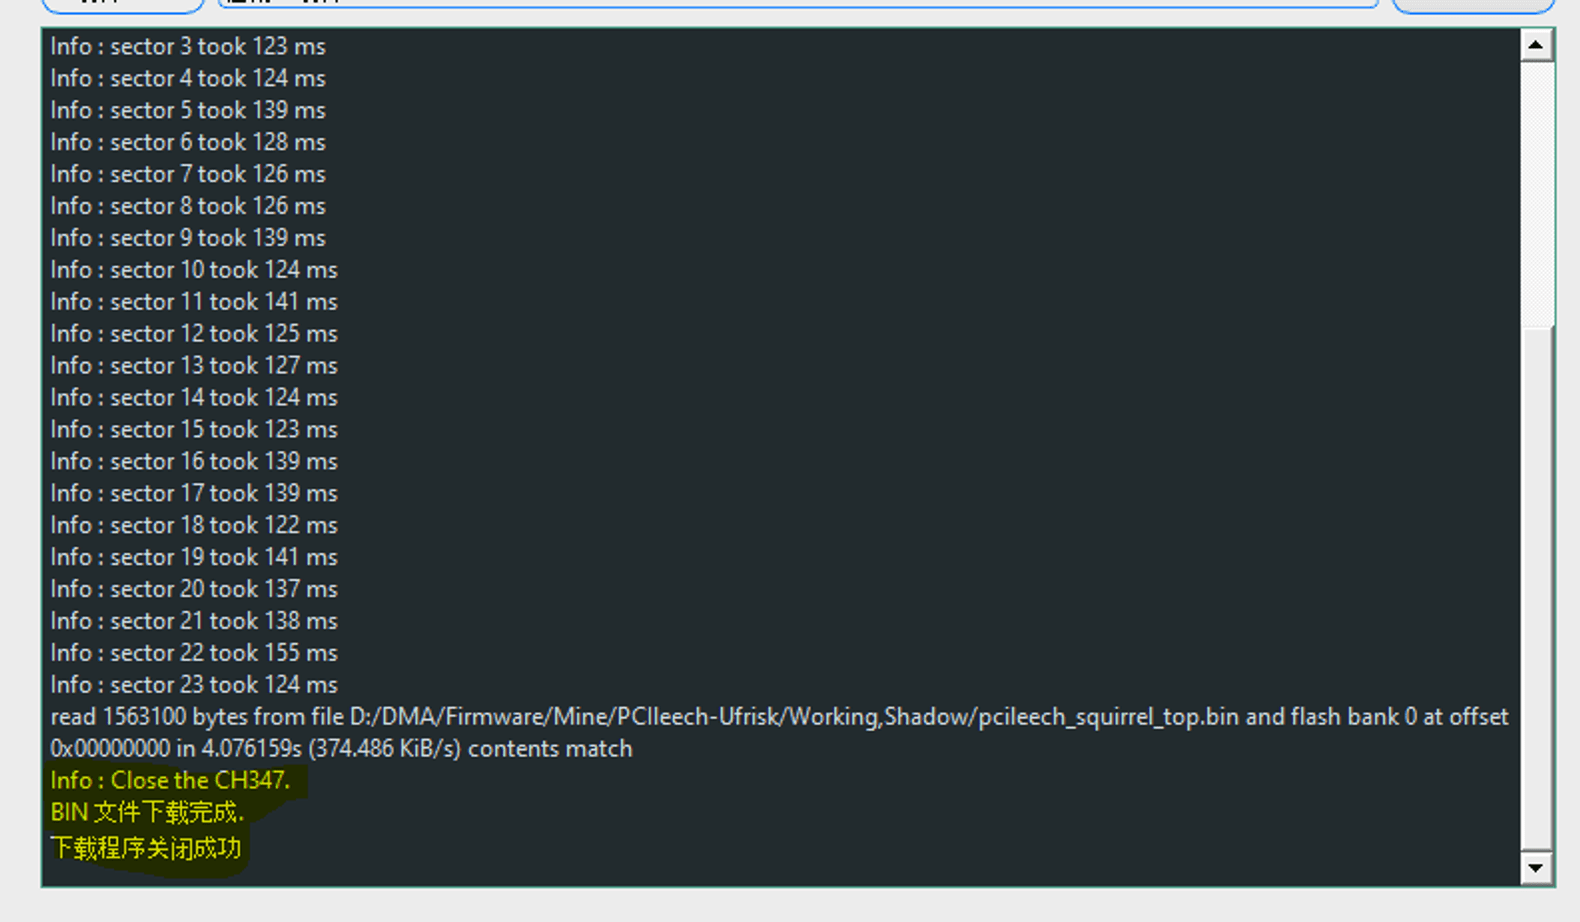
7.1 Please allow enough time for the process to work. Even if you see the green bar gets to 100%, does not mean the flash has completed. Wait until you also see Info: Close the CH347 like highlighted below
8. After the device has successfully been flashed, power off your second PC, and then power off your main PC. Flip the power switch on the back and press the power button for a few seconds to drain any excess power from the system. At this time, switch the USB-C cable from JTAG to DATA. You may now power your main PC back on first, and then your second PC.
Switch to main pc
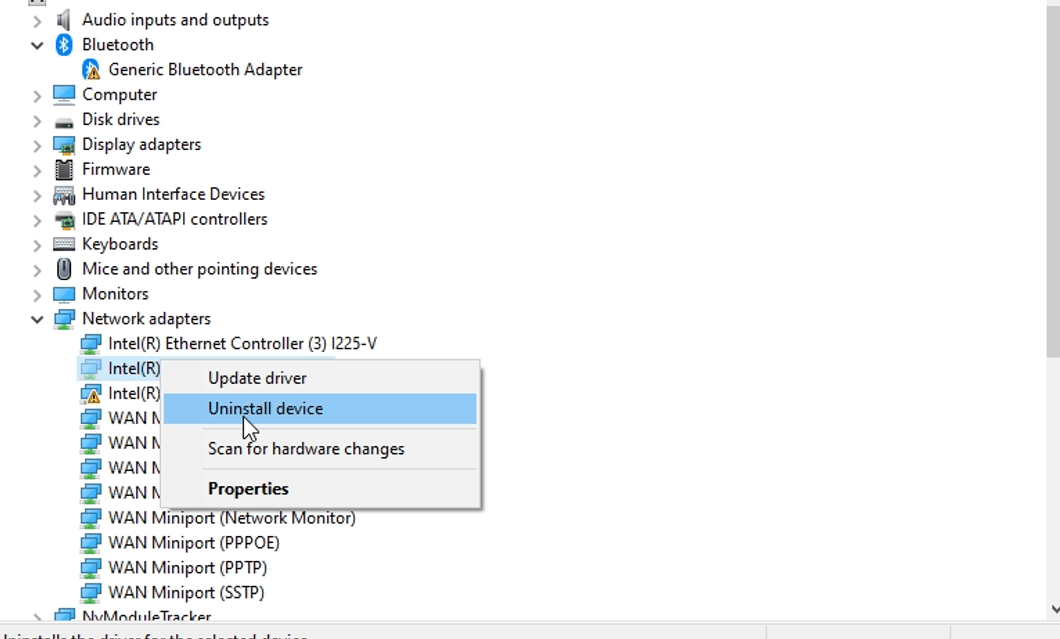
9. You should now delete prior firmware’s from the system. To do so, go to Device Manager and click View>Show Hidden Devices as shown in the photo below.
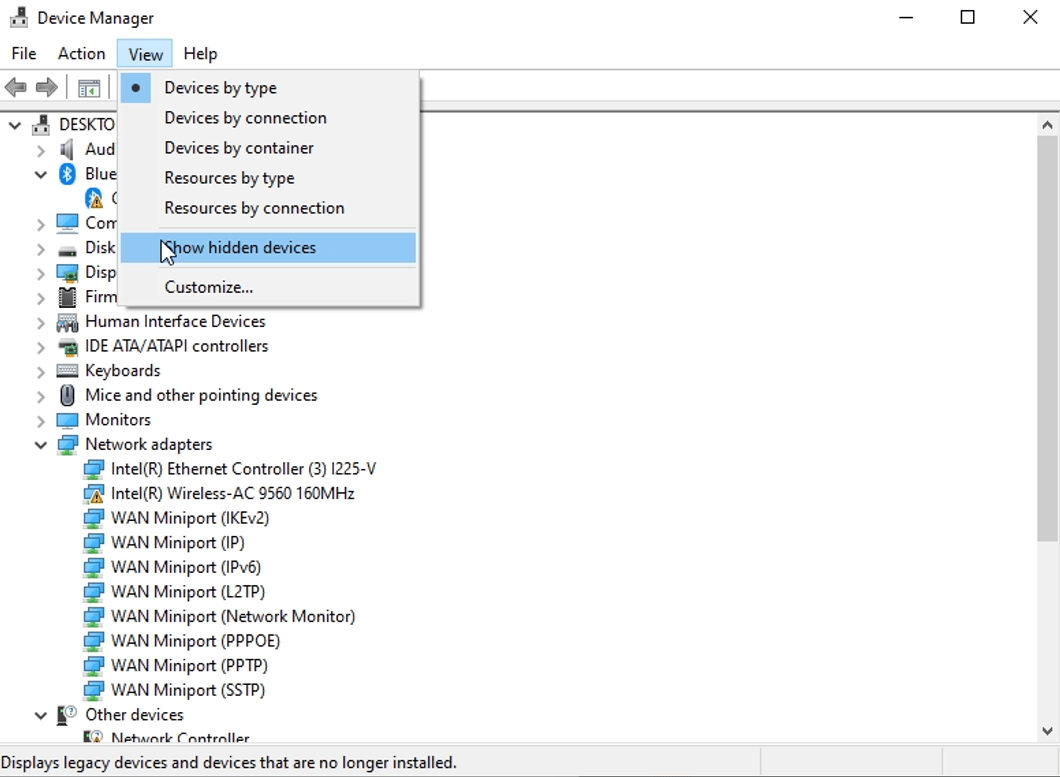
9.1 Right click the prior firmware (should be grayed out) and click uninstall.
